

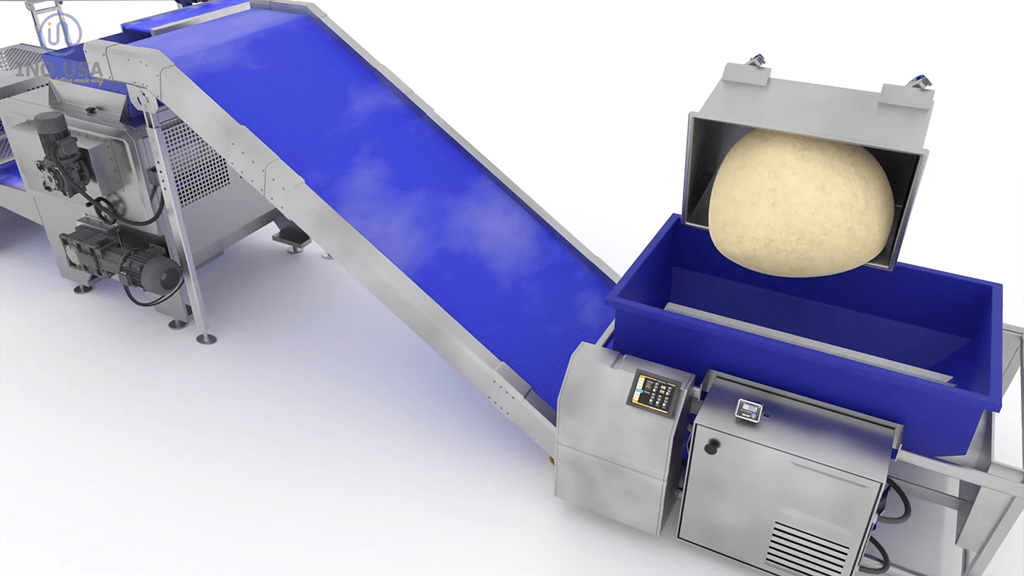
STEP 1 – DOUGH LOADING
Our first step in cracker production is when the mixed dough is loaded from a mobile tub into a live bottom bin.

STEP 2 – DOUGH CHUNKING
Once in the bin, a guillotine cuts a log or chunk of dough and a conveyor belt on the base of the bin moves it to an incline belt called the “feed conveyor” or the “chunker belt” that will move the dough to the sheeter.

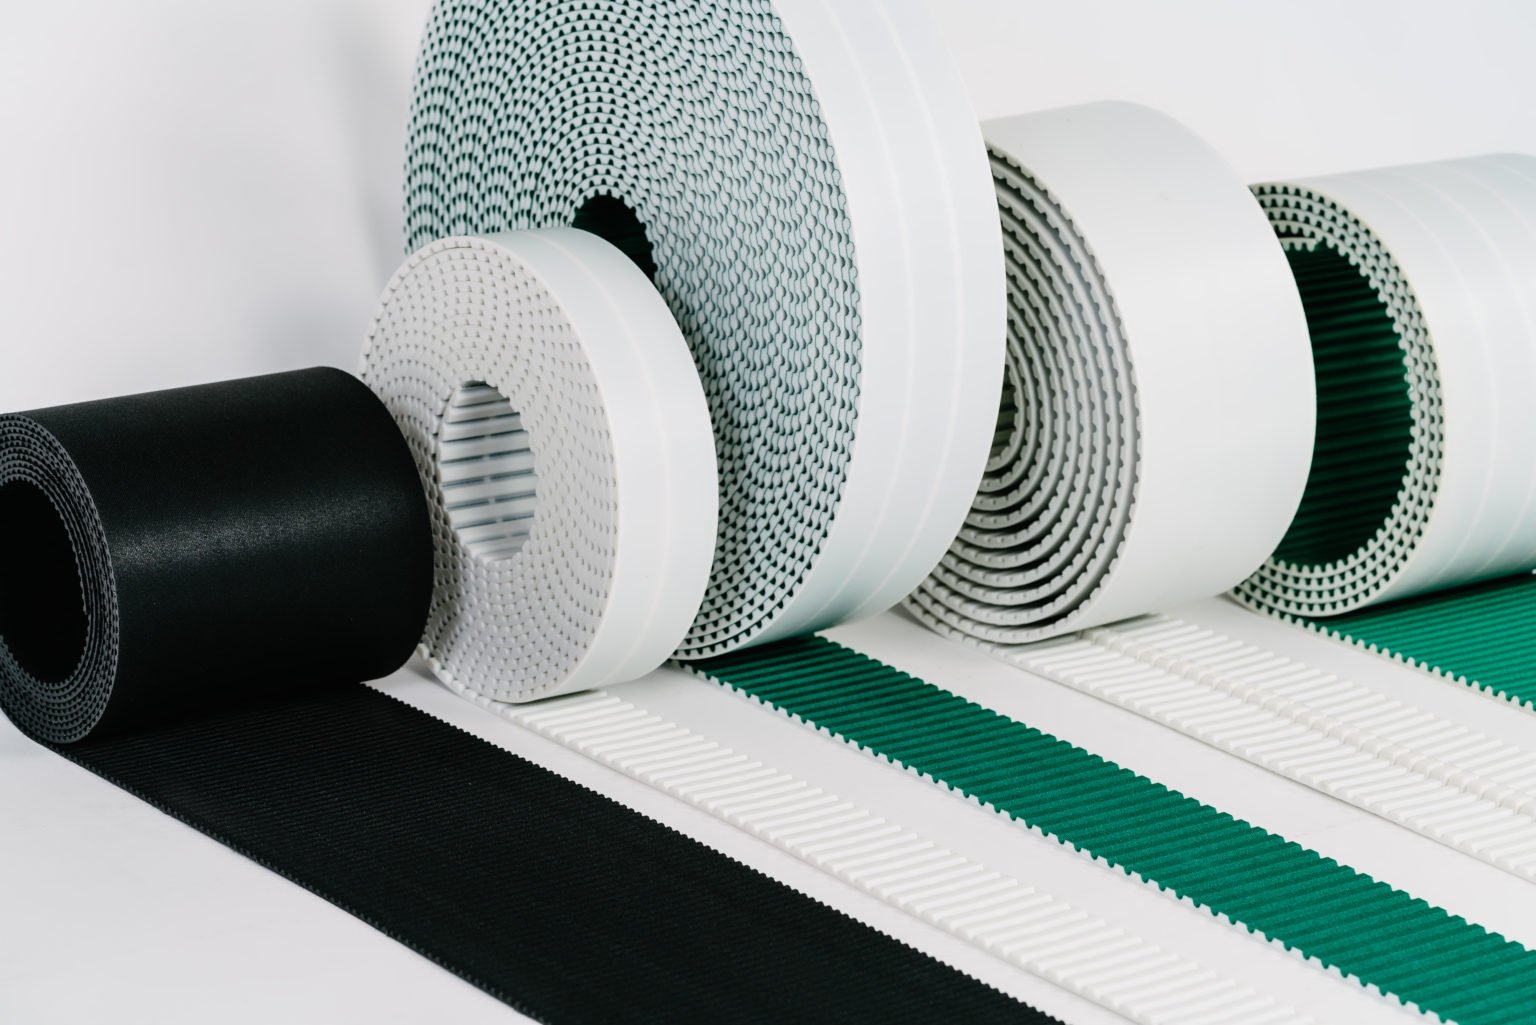
The chunker belt is normally a 2-ply polyurethane belt or a 2-ply oil and fat resistant PVC with an inverted pyramid top profile or similar, to provide grip on the incline conveying. The belt is usually blue or white in color and like all belts on this application, it must be approved for direct contact with food.

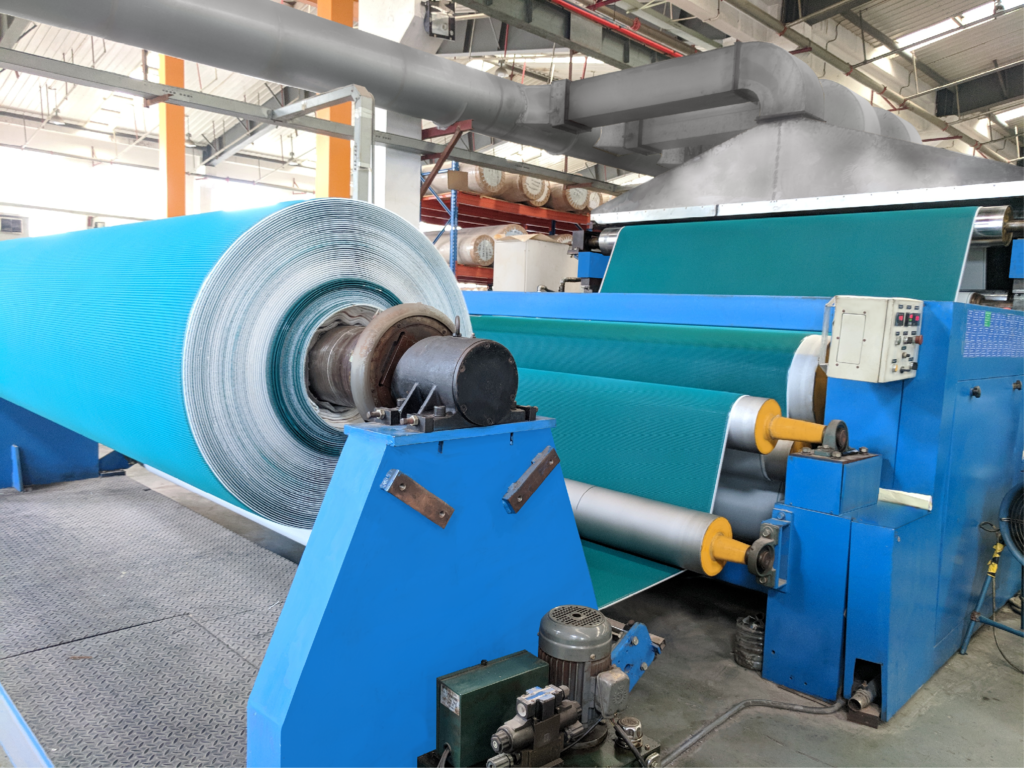
STEP 3 – SHEETER (ROLLER SECTION)
As the dough enters the hopper on the sheeter, it passes through a system of rollers to produce a consistent dough sheet. A forcing roller draws the dough into a pressurized cavity between two-gauge rollers where it gets compacted into a uniform and homogeneous sheet of the desired thickness.

The belt used on the sheeter is usually a white or blue 2-ply polyurethane belt, preferably matt to improve release, and able to be used on small pulleys. If the dough is very sticky, a higher release polyether-based polyurethane belt can be used as well.

Some companies also use a bare by bare polyurethane belt, this means no covers, just the fabric. This type of belt can also provide good release by lowering the surface of contact of the belt with the dough.

STEP 4 – GAUGE ROLLER
The uniform sheet of dough then continues to pass through a series of gauge roll units where a pair of heavy rollers reduce it to the final thickness.

The belts used on the gauge rollers are normally the same used on the sheeter, since the requirements of the application are pretty much the same.

There are a few added features on all these belts that could be implemented to increase food safety, such as: non-fray, where the fabric of the belt is woven either using very short strands that avoid fraying or the fabric has a special glue for the same purpose. You don’t want to eat your crackers and find a long piece of fabric on them! Anti-microbially equipped belt, where the belt is made mixing silver ions, well known for inhibiting the growth of bacteria and fungi. If the production line has a metal detector, metal detectable belts can be used as well, so if part of the belt cover breaks and gets mixed with the dough, that portion will be flagged and rejected.

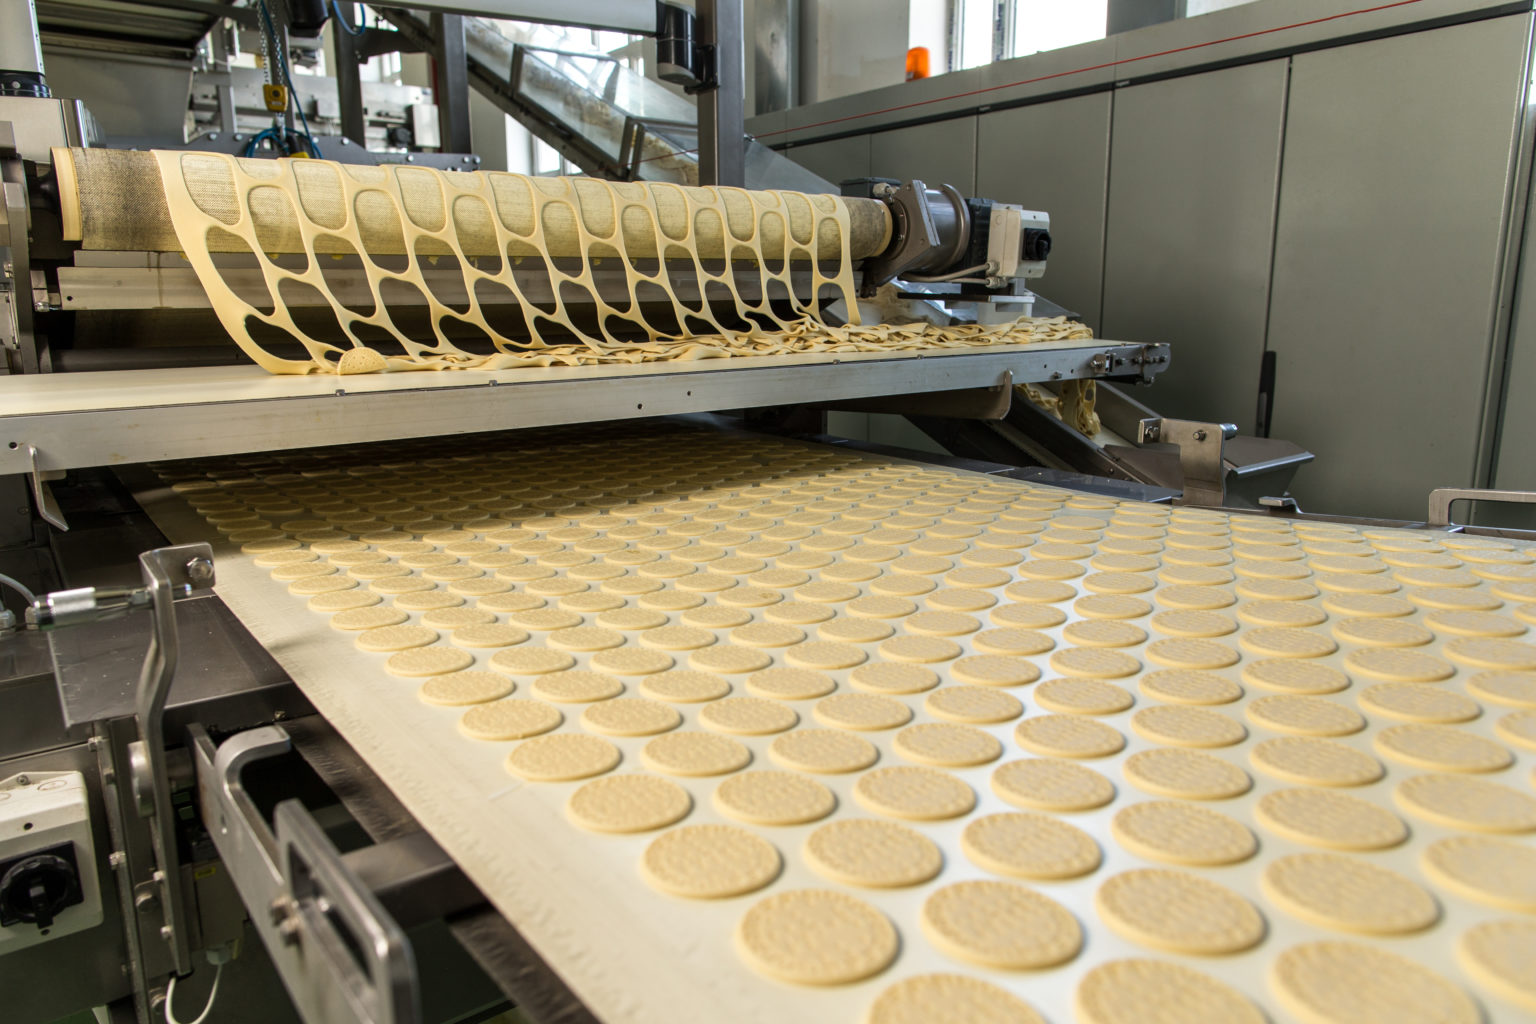
STEP 5 – ROTARY CUTTER
Once the sheet has the desired thickness it goes onto a cutting conveyor that passes through a rotary cutter unit. The rotary cutter is used to emboss and cut the dough into the final cracker shapes.

A lot of different belts can be used here. The main thing to know is that the belt needs to have high release, it needs to be resistant to cuts and the small transfers between conveyors start now, so it needs to be able to go over a very small nosebar. Most people use a 1-ply or 2-ply polyurethane belts suitable to those needs. Another material used that provides great cut resistance is Hytrel©. Other companies also use bare by bare belts or even 1 ply solid woven cotton belts, which provide good release properties as well.

STEP 6 – SCRAP CONVEYOR
A scrap conveyor lift lifts the network of dough around the cracker pieces and moves it to a return scrap conveyor that takes it back to the sheeter to be reused.

Any 1-ply or 2-ply polyurethane belts can be used here. For the incline, to provide grip, you can use a profile like inverted pyramid or a glossy finish that can make the belt surface more adhesive.

STEP 7 – SALTING
Before entering the oven, the crackers go under a salt sprinkler system to get lightly salted.

Any 1-ply or 2-ply polyurethane belt suitable for small nose bars can be used here.

STEP 8 – OVEN BAKING
The salted raw crackers now enter the oven to be baked. Cracker baking ovens, also known as tunnel ovens, have long conveyors that carry the dough pieces through a heated baking chamber. Oven lengths vary typically between 25 and 100 meters long. The conveyor can move at different speeds, allowing the operator to adjust the baking time. Ovens are designed to transfer heat by either radiation, convection, or conduction.

The conveyor band material is a wire-mesh or a carbon steel band, which turns around large cylindrical drums at each end of the oven, and it needs to withstand high temperatures for long periods of time.

STEP 9 – OIL SPRAYER
After baking, many crackers are immediately sprayed with vegetable oil. The oil, which could be flavored, is absorbed quickly when the crackers are hot. The oil spray machines can be for either top or bottom spray or both. The oil spray machines carry the crackers on a stainless-steel mesh conveyor through the spray system. A pump supplies the oil to a series of spinning discs that atomize the oil into a fine spray. The extra oil drains and is recirculated back to the discs.

The best belt to allow oil drainage is a steel wire-mesh. It is also a good belt to use as the oven outfeed since the belt is going to be almost touching the very hot oven conveyor band.

STEP 10 – COOLING
Before packaging, the crackers need to be cooled to room temperature. This is done by a series of conveyors carrying the crackers for close to double the time of baking. The cooling also helps reduce the moisture from the center of the crackers, which is much higher than the outside. If this moisture is too high, the crackers might break after packaging.

1-ply and 2-ply polyurethane belts are used here. If the temperature of the crackers is still high, a polyether-based polyurethane or any other high temperature polyurethane is recommended. If the cooling has any inclines, then a glossy finish is recommended, since it provides the belt with better adhesion or grip. To reduce the overall length of the system, some companies have curved belts. The curved belts need to have the same properties, with the added property of having flexible fabrics that will provide traction on a curved conveyor.

STEP 11 – STACKING (ON-EDGE SYSTEM SHOWN)
After cooling, the crackers are ready for packaging. The first step on the packaging is to stack the crackers. The two main stacking systems are in pile or on edge. The one showed on this video is the on- edge flow pack system, where crackers get stacked on their edge. Sometimes the crackers can be loaded into tins by hand or into plastic bags via vertical form fill seal machines.

Any 1-ply or 2 ply polyurethane belt suitable for small nosebars can be used here.

STEP 12 – CRACKER PACKAGING
Once stacked, the crackers can be loaded into trays, or can be wrapped in plastic using flow wrapping systems like the one showed on this video.

The final stacks of wrapped crackers can be put into cartons, boxes, or tins via automated systems or manually by operators.
WATCH THE CRACKER PRODUCTION PROCESS BELOW


LEAVE A REPLY